Nano Page: Difference between revisions
| (4 intermediate revisions by the same user not shown) | |||
| Line 2: | Line 2: | ||
This page is to provide information on the Nano v3.0. This is a different device to the model Nano Every as it uses the ATMega328 chip | This page is to provide information on the Nano v3.0. This is a different device to the model Nano Every as it uses the ATMega328 chip | ||
=Getting the ATMega328PB to work= | =Getting the ATMega328PB to work= | ||
When you buy a Nano v3.0 off some stores you actually | When you buy a Nano v3.0 off some stores you actually got a device which has a ATMega328pb chip. You can tell this because the chip has it written on it.<br> | ||
[[File:ATMega328pb.jpg]]<br> | [[File:ATMega328pb.jpg]]<br> | ||
Using the board with the Ardiuno boardmanager failed for both bootloader options it provides. An example of failure | |||
<syntaxhighlight lang="txt"> | <syntaxhighlight lang="txt"> | ||
avrdude: stk500_getsync(): not in sync: resp=0x00 | avrdude: stk500_getsync(): not in sync: resp=0x00 | ||
</syntaxhighlight> | </syntaxhighlight> | ||
So you need to burn a new bootloader. To do this you need | |||
*a working arduino board | |||
*your broken board | |||
*understanding of the pinout on nano | |||
When I did this the second time Dec 2024 I neglected to understand the pinout for the nano.<br> | |||
[[File: | [[File:Stupid nano.png|400px]]<br> | ||
This picture suggested the 5v was bottom left of the board. Inspecting the board I found that the connector pictured was upsidedown<br> | |||
So here is how to wire them | |||
<syntaxhighlight lang="txt"> | <syntaxhighlight lang="txt"> | ||
Arduino without | Arduino as ISP | Arduino without | Arduino as ISP | ||
| Line 27: | Line 28: | ||
__________________|________________ | __________________|________________ | ||
</syntaxhighlight> | </syntaxhighlight> | ||
Next you need the MiniCore board manager installed. | |||
<syntaxhighlight lang="txt"> | |||
https://mcudude.github.io/MiniCore/package_MCUdude_MiniCore_index.json | |||
</syntaxhighlight> | |||
The plan is to use the working board to download the bootloader onto the nano. To do this go to the examples menu in Arduino IDE and get the ArduinoISP sketch. Now we configure the board manager from MiniCore.<br> | |||
[[File:MiniCore Config.png| 300px]]<br> | |||
For me these were the settings (except for the port). The important bits were | |||
*Board in the Minicore | |||
*Port is the port of the ArdiunoISP not the broken board | |||
*Programmer is Ardiuno as ISP | |||
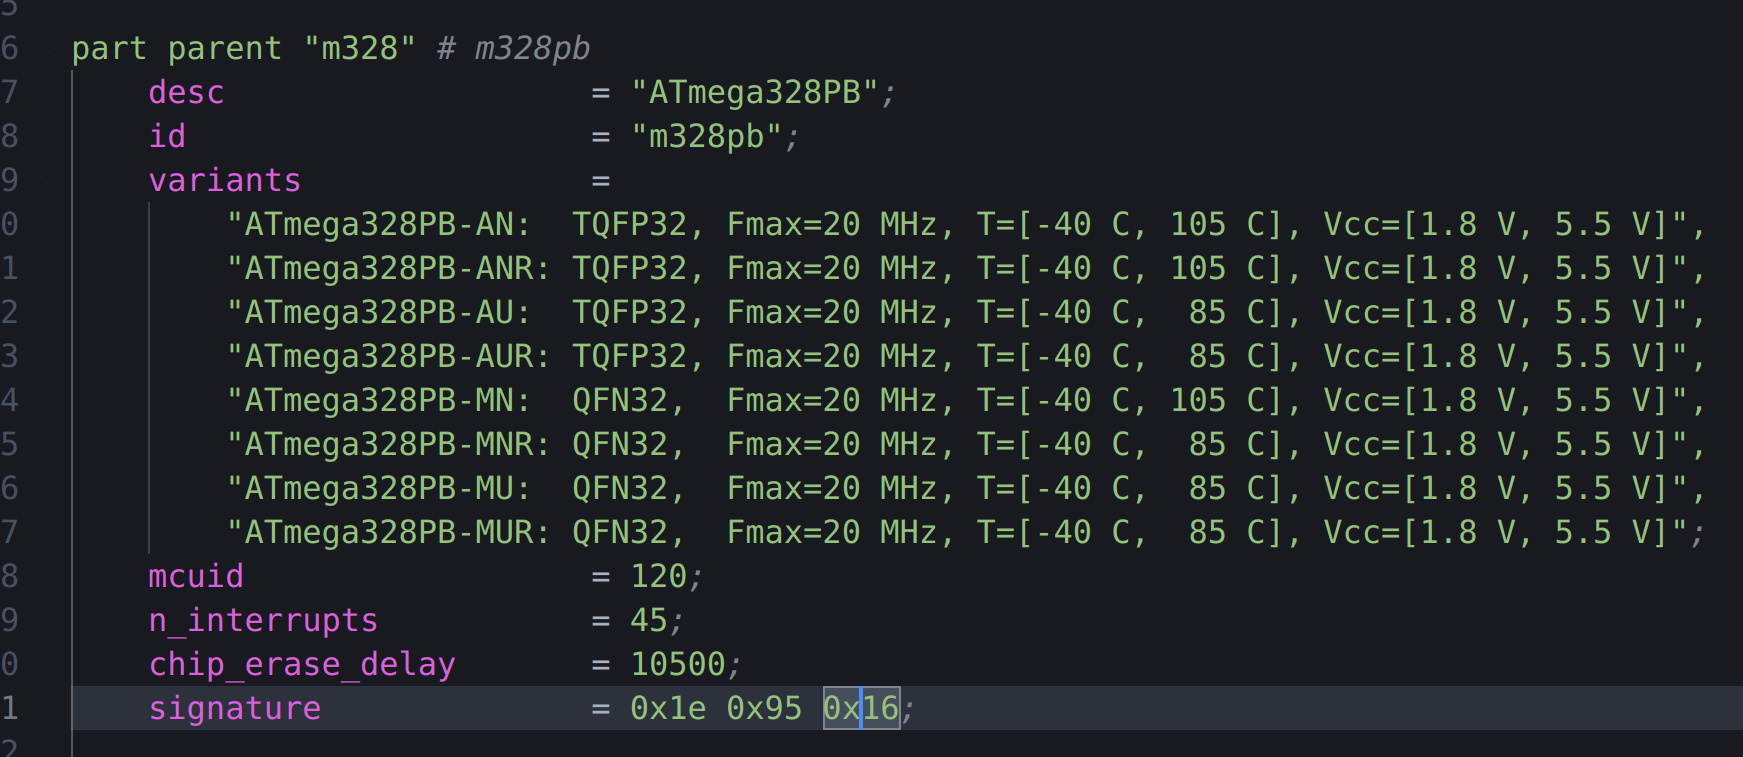
Then you choose burn bootloader and hopefully it should work. I did have problem because the Device signature did not match the expected one. I the output avrdude shows you which configuration it is using. You then need to open the configuration up and change the signature. For me this was 0x16 but I have seen different suggestions. | |||
[[File:Avrdude.png|400px]] | |||
And finally a picture of success.<br> | |||
[[File:Nanos.jpg|400px]]<br> | |||
When we go into vs code the minicore settings are available.<br> | |||
[[File:NanoV3 VSCode.jpg|300px]]<br> | |||
Latest revision as of 22:38, 26 December 2024
Introduction
This page is to provide information on the Nano v3.0. This is a different device to the model Nano Every as it uses the ATMega328 chip
Getting the ATMega328PB to work
When you buy a Nano v3.0 off some stores you actually got a device which has a ATMega328pb chip. You can tell this because the chip has it written on it.
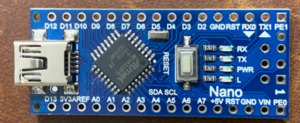
Using the board with the Ardiuno boardmanager failed for both bootloader options it provides. An example of failure
avrdude: stk500_getsync(): not in sync: resp=0x00So you need to burn a new bootloader. To do this you need
- a working arduino board
- your broken board
- understanding of the pinout on nano
When I did this the second time Dec 2024 I neglected to understand the pinout for the nano.
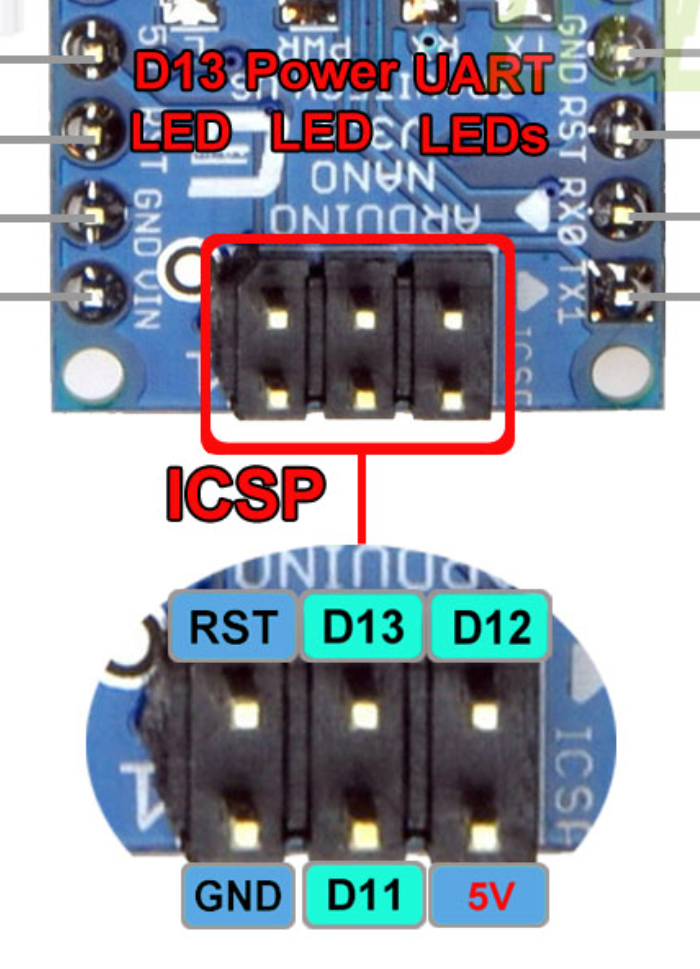
This picture suggested the 5v was bottom left of the board. Inspecting the board I found that the connector pictured was upsidedown
So here is how to wire them
Arduino without   |  Arduino as ISP
   bootloader     |   programmer
__________________|________________
ICSP pin#1 (MISO) |      D12
ICSP pin#2 (+5V)  |      5V
ICSP pin#3 (SCK)  |      D13
ICSP pin#4 (MOSI) |      D11
ICSP pin#5 (RST)  |      D10
ICSP pin#6 (GND)  |      GND
__________________|________________
Next you need the MiniCore board manager installed.
https://mcudude.github.io/MiniCore/package_MCUdude_MiniCore_index.jsonThe plan is to use the working board to download the bootloader onto the nano. To do this go to the examples menu in Arduino IDE and get the ArduinoISP sketch. Now we configure the board manager from MiniCore.
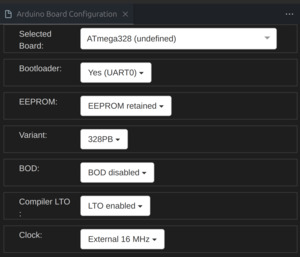
For me these were the settings (except for the port). The important bits were
- Board in the Minicore
- Port is the port of the ArdiunoISP not the broken board
- Programmer is Ardiuno as ISP
Then you choose burn bootloader and hopefully it should work. I did have problem because the Device signature did not match the expected one. I the output avrdude shows you which configuration it is using. You then need to open the configuration up and change the signature. For me this was 0x16 but I have seen different suggestions.
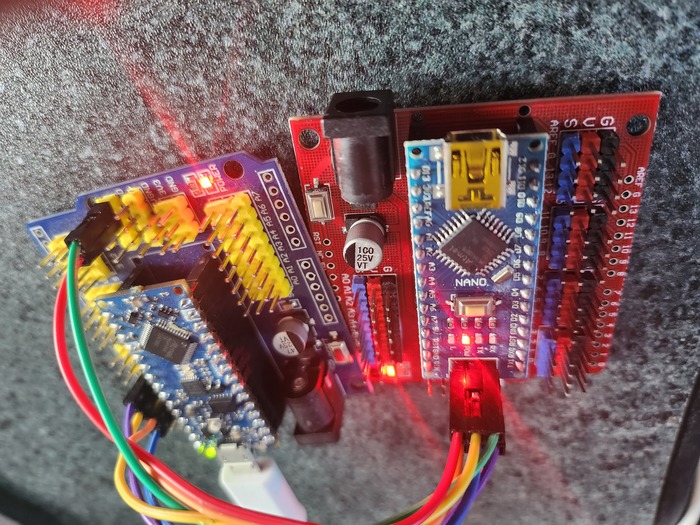
And finally a picture of success.
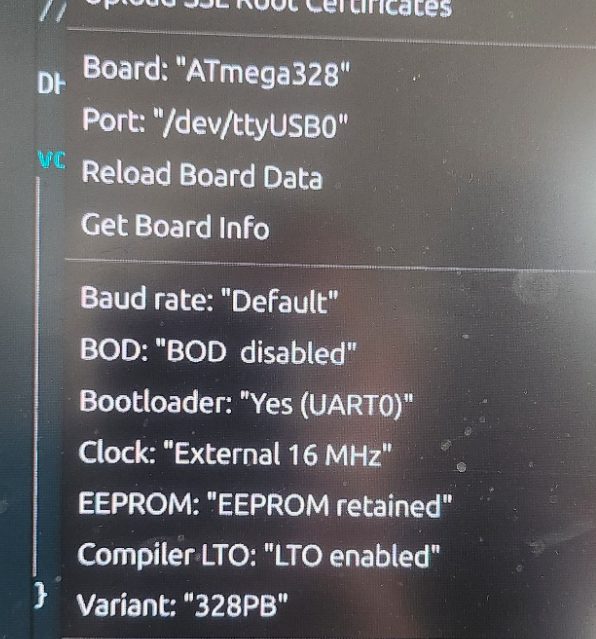
When we go into vs code the minicore settings are available.
