Unity: Difference between revisions
| (8 intermediate revisions by the same user not shown) | |||
| Line 91: | Line 91: | ||
} | } | ||
</syntaxhighlight> | </syntaxhighlight> | ||
=Level Design= | |||
==Using Probuilder== | |||
With probuilder we need to import the tools probuilder and progrids. From there we are able to create a scene which represents the artwork.<br> | |||
[[File:Unity Artwork.png|400px]]<br> | |||
And use the probuilder tool to build a similar look. | |||
<br> | |||
[[File:Unity Probuilder.png|200px]] [[File:Unity Probuilder2.png|200px]] | |||
==Configuring Environment Assets== | |||
This consisted of | |||
*Importing models, materials and textures | |||
*The materials were assigned textures | |||
*The models we assigned materials | |||
==Creating Environment Prefabs== | |||
From here the assets were dragged onto the structure and shaped to fit. We can duplicate them, rotate them. With the gaps we can use a vertex snapping which snaps the model to the nearest one. When happy you can create a Prefab to make this reusable.<br> | |||
[[File:Unity Prefab Environment.png|400px]] | |||
==Lighting Environment=== | |||
*Change overall light from the light tab | |||
*Made a point light as a game object | |||
*Surrounded the scene with a | |||
*Selected the environment, on the scene tab hit generate lighting | |||
*Then used a reflection probe | |||
==Particle System== | |||
You can find this under effects particle system. They used it to look like fog. They used a cloud material with it | |||
==Light Streak== | |||
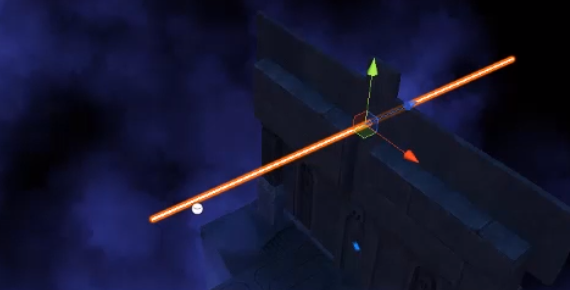
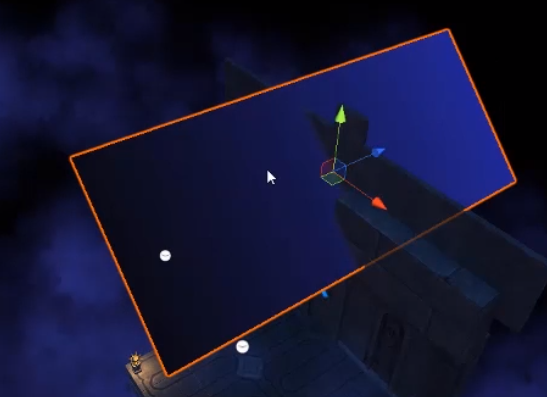
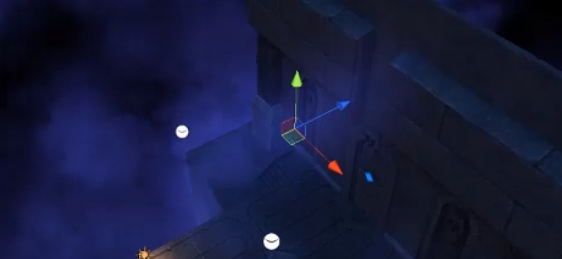
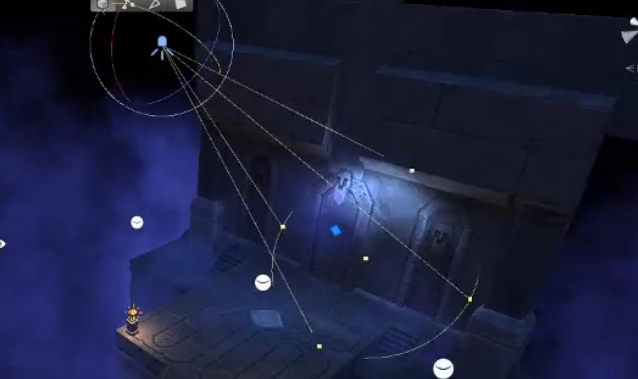
Create one of these by/create/effects/line.They resized it to be a rectangle and applied the streak material which made it look like a shaft of light. From there, they created a light to reflect off it. | |||
[[File:Unity Streak1.png|300px]]<br> | |||
[[File:Unity Streak2.png|300px]]<br> | |||
[[File:Unity Streak3.png|300px]]<br> | |||
[[File:Unity Streak4.png|300px]]<br> | |||
Latest revision as of 05:27, 30 August 2021
Introduction
Mouse Manager
Demonstrated who to do a mouse manager which determines what the cursor should look like when interaction with an object occurs. To do this they
- Create game object called Mouse Manager
- Set up a script which exposes 5 different Texture2d textures extending monobehaviour
- Implement update which is fired for each frame
- Import assets for cursors, set the texture type to cursor
- Attach Script to Mouse Manager object
- Drag drop assets to Mouse Manager slots from script
- Make an new layer and name it clickable
- Go to mouse manager and say clickable is possible on clickable layer
Movement
This was quite complex (maybe first time around)
- Import the NavMeshComponents
- Add NavMesh Surface empty game object
- Set the agent type on NavMesh Surface Object
- Pressing bake shows what cannot move
- We need to exclude the player from this
- To exclude the player we need to
- On the mesh exclude the player layer
- On the Player object assign the player layer to the player object
- Next create a player controller class in a script which has an agent and within start() we get this agent with GetComponent<NavMeshAgent>()
- Back in the mouseManager script create a delegate for EventVector3 OnClickEnvironment
- In the clickable if statement call the function assigned to the delegate from the GUI
if(input.GetMouseButtonDown(0)) {
   OnClickEnvironment.Invoke
}
- The assign the NavMeshAgent destination to the OnClickEnvironment
Player Interactions
We can capture and change the destination on collision
// Can store the data with a collision
// Assign the new co-ordinates
Transform doorway = hit.collider.gameObject.transform
OnClickEnvironment.Invoke(doorway.position)
NPC Patrol
Basically wrote a script to move to the two waypoints (a reference point used for navigation purposes by in-game characters)
- Create an NPC new game object
- Create the waypoints (new gameobject) under the NPC
- Create a script
- Assign the waypoints to the script
public class NPCController : MonoBehaviour
{
    public float patrolTime = 10f;
    public float aggroRange = 10f;
    public Transform[] waypoints;

    private int index;
    private float speed, agentSpeed;
    private Transform player;

    //private Animator anim;
    private NavMeshAgent agent;

    private void Awake()
    {
        //anim = GetComponent<Animator>();
        agent = GetComponent<NavMeshAgent>();
        if (agent != null) { agentSpeed = agent.speed; }
        player = GameObject.FindGameObjectWithTag("Player").transform;
        index = Random.Range(0, waypoints.Length);

        InvokeRepeating("Tick", 0, 0.5f);

        if(waypoints.Length > 0)
        {
            InvokeRepeating("Patrol", 0, patrolTime);
        }
    }

    void Patrol()
    {
        index = index == waypoints.Length - 1 ? 0 : index + 1;
    }

    void Tick()
    {
        agent.destination = waypoints[index].position;
        agent.speed = agentSpeed / 2;

        if(player != null && Vector3.Distance(transform.position, player.position) < aggroRange)
        {
            agent.destination = player.position;
            agent.speed = agentSpeed;
        }
    }
}
Level Design
Using Probuilder
With probuilder we need to import the tools probuilder and progrids. From there we are able to create a scene which represents the artwork.
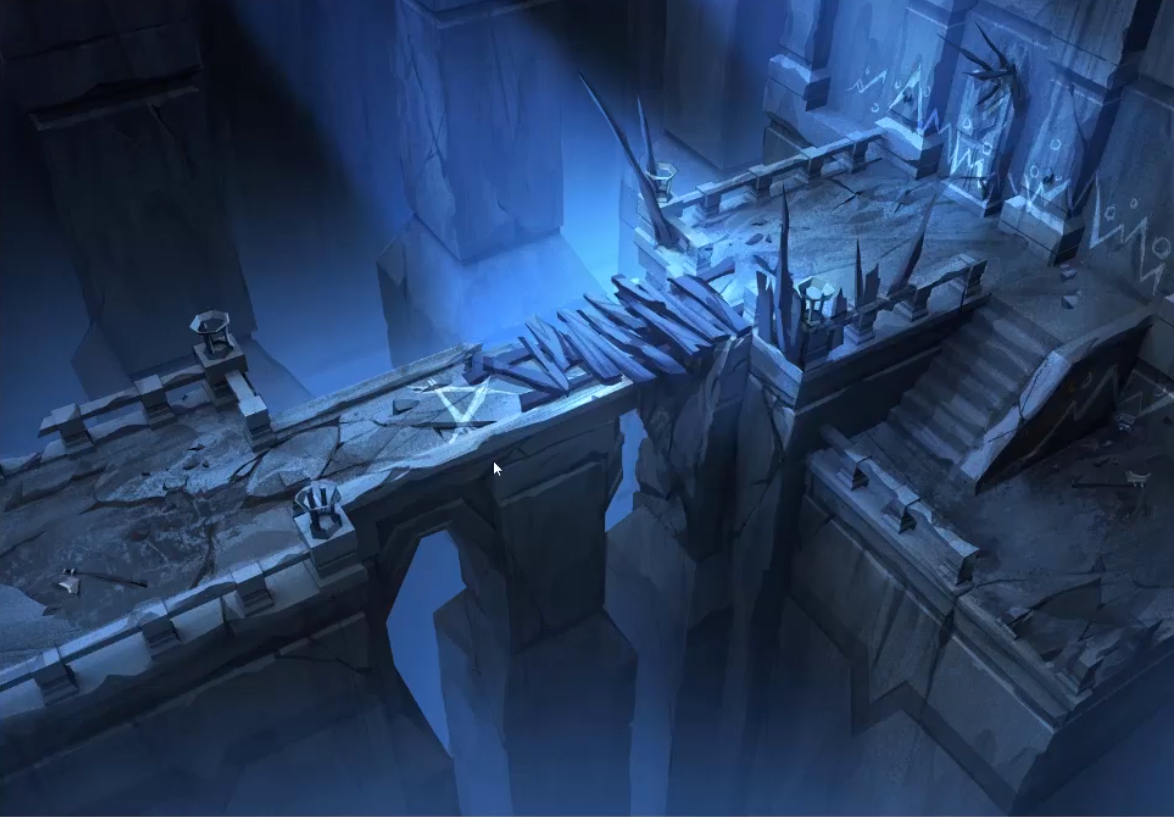
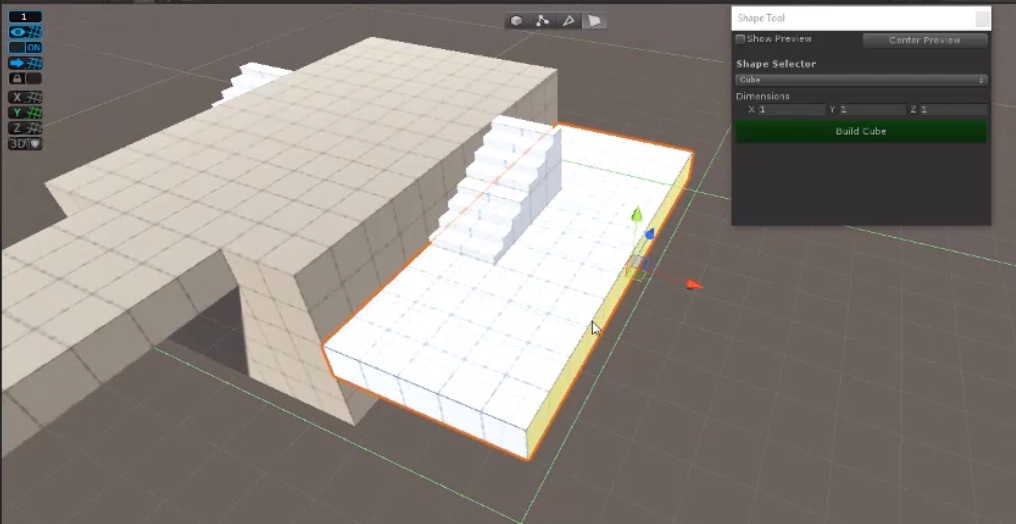
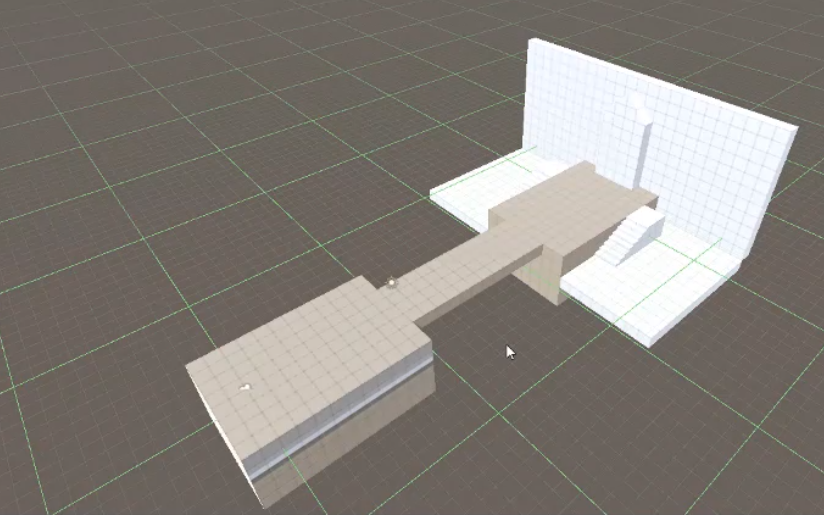
And use the probuilder tool to build a similar look.
Configuring Environment Assets
This consisted of
- Importing models, materials and textures
- The materials were assigned textures
- The models we assigned materials
Creating Environment Prefabs
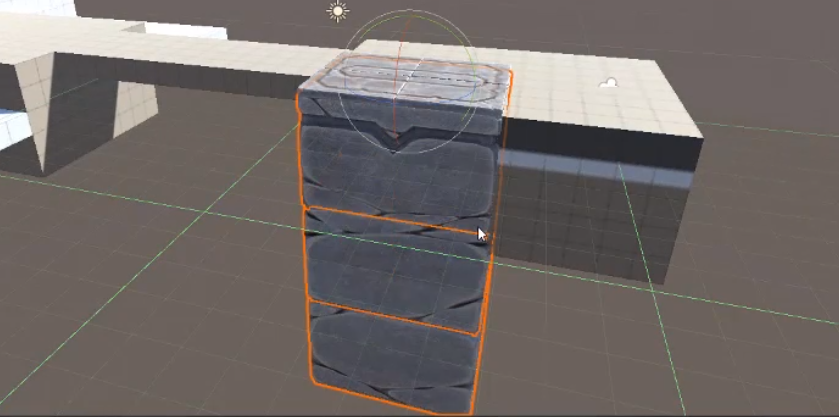
From here the assets were dragged onto the structure and shaped to fit. We can duplicate them, rotate them. With the gaps we can use a vertex snapping which snaps the model to the nearest one. When happy you can create a Prefab to make this reusable.
Lighting Environment=
- Change overall light from the light tab
- Made a point light as a game object
- Surrounded the scene with a
- Selected the environment, on the scene tab hit generate lighting
- Then used a reflection probe
Particle System
You can find this under effects particle system. They used it to look like fog. They used a cloud material with it
Light Streak
Create one of these by/create/effects/line.They resized it to be a rectangle and applied the streak material which made it look like a shaft of light. From there, they created a light to reflect off it.
