Keycloak: Difference between revisions
Jump to navigation
Jump to search
| Line 103: | Line 103: | ||
--data-urlencode 'password=xxxx' | jq -r .access_token` | --data-urlencode 'password=xxxx' | jq -r .access_token` | ||
</syntaxhighlight> | </syntaxhighlight> | ||
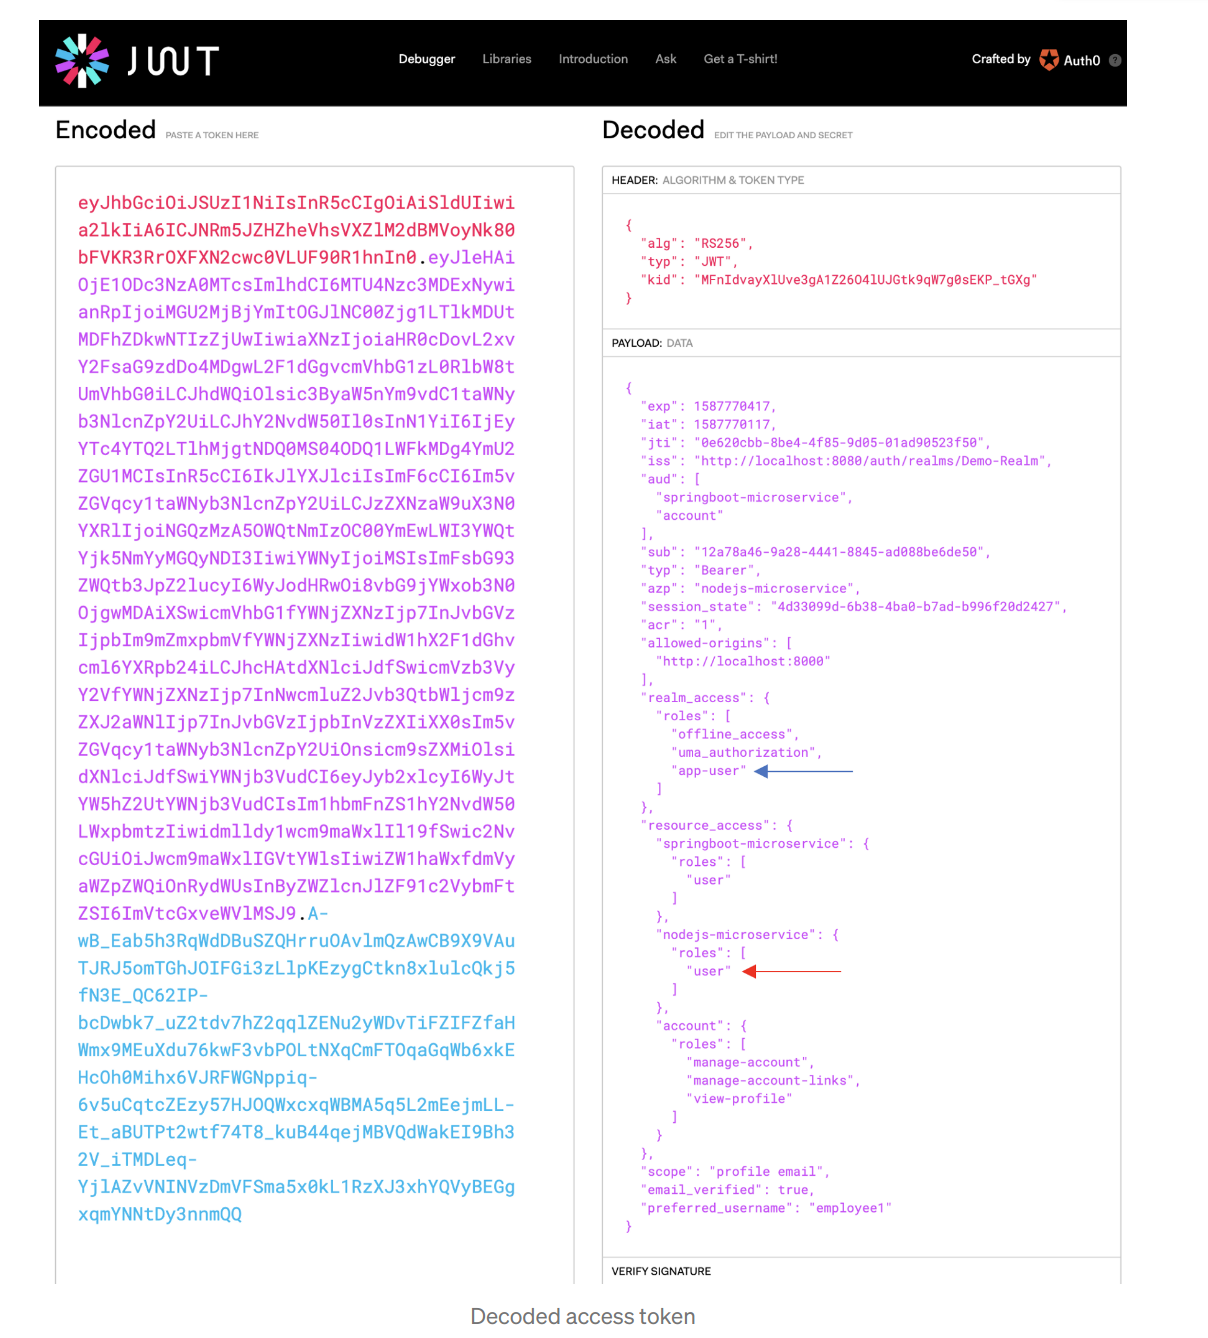
You can view your tokens, carefully at <br> | You can view your tokens, carefully at https://jwt.io/#debugger-io<br> | ||
[[File:Jwt Token.png|600px]] | [[File:Jwt Token.png|600px]] | ||
Revision as of 13:49, 2 April 2021
Setting up Server
Install Podman=
sudo apt install podman
Create Image
podman pull quay.io/keycloak/keycloak
# Note I run tomcat so changed the ports from 8080
# quay.io/keycloak/keycloak:12.0.1

podman run -d \
  --name keycloak \
  -p 8081:8080 \
  -e KEYCLOAK_USER=admin \
  -e KEYCLOAK_PASSWORD=password \
  -e KEYCLOAK_IMPORT=/tmp/one-realm.json,/tmp/two-realm.json \
  quay.io/keycloak/keycloak:7.0.0
Moving to Docker
Stopping and starting
sudo docker-compose up -d
sudo docker-compose down
Could not get the keycloak to work in Podman so moved to docker
version: '3'
services:
  keycloak:
    image: jboss/keycloak:12.0.1
    ports:
      - "9999:8080"
    environment:
      KEYCLOAK_USER: admin
      KEYCLOAK_PASSWORD: password
      KEYCLOAK_LOGLEVEL: DEBUG
      WILDFLY_LOGLEVEL: DEBUG
    volumes:
      - "./realms:/tmp"
version: '3'
services:
  keycloak:
    image: quay.io/keycloak/keycloak:12.0.1
    ports:
      - "9999:8080"
    environment:
      KEYCLOAK_USER: admin
      KEYCLOAK_PASSWORD: password
Migrating From 7.0.0
Export from 7.0.0
/opt/jboss/keycloak/bin/standalone.sh \
  -Djboss.socket.binding.port-offset=100 \
  -Dkeycloak.migration.action=export \
  -Dkeycloak.migration.provider=singleFile \
  -Dkeycloak.migration.file=/tmp/keycloak-export.json
Import to 12.0.1
/opt/jboss/keycloak/bin/standalone.sh \
   -Djboss.socket.binding.port-offset=100 \
   -Dkeycloak.migration.action=import \
   -Dkeycloak.profile.feature.upload_scripts=enabled \
   -Dkeycloak.migration.provider=singleFile \
   -Dkeycloak.migration.file=/tmp/keycloak-export.json
Configure Keycloak
If using docker you need to change podman to docker Disable https
podman exec -it keycloak bash
cd /opt/jboss/keycloak/bin
./kcadm.sh config credentials --server http://localhost:8080/auth --realm master --user admin
./kcadm.sh update realms/master -s sslRequired=NONE
Setting up the Server
To set this up I needed to
- Create Realm
- Create Client
- Create Roles
- Create Roles for Client
- Map Roles from Client
- Create Users
- Add Roles to Users.
I used online help to set the server up. Especially https://medium.com/devops-dudes/securing-node-js-express-rest-apis-with-keycloak-a4946083be51
Generate a Token
Had a bit of grief getting this going but in the end I set my own keycloak server up and I think the isssue was either using localhost instead of the IP or putting a dash in the realm.
export TOKEN=`curl -X POST 'http://192.168.1.70:9999/auth/realms/bibble/protocol/openid-connect/token' \
 --header 'Content-Type: application/x-www-form-urlencoded' \
 --data-urlencode 'grant_type=password' \
 --data-urlencode 'client_id=bibble-client' \
 --data-urlencode 'client_secret=xxxx' \
 --data-urlencode 'username=bwiseman' \
 --data-urlencode 'password=xxxx' | jq -r .access_token`
You can view your tokens, carefully at https://jwt.io/#debugger-io

Using Keycloak with NodeJS
Very simple.
Configure Keycloak
This is the main work. I did not need the credentials or the public key to get it working
const session = require('express-session');
const Keycloak = require('keycloak-connect');

// eslint-disable-next-line no-underscore-dangle
let _keycloak;

const keycloakConfig = {
  resource: 'bibble-client',
  bearerOnly: true,
  'auth-server-url': 'http://192.168.1.70:9999/auth/',
  realm: 'bibble',
// 'realm-public-key': '',
//    'credentials': {
//        'secret': ''
//    },
};

function initKeycloak() {
  if (_keycloak) {
    // eslint-disable-next-line no-console
    console.warn('Trying to init Keycloak again!');
    return _keycloak;
  }

  // eslint-disable-next-line no-console
  console.log('Initializing Keycloak...');
  const memoryStore = new session.MemoryStore();
  _keycloak = new Keycloak({ store: memoryStore }, keycloakConfig);
  // eslint-disable-next-line no-console
  console.log('Done initializing Keycloak...');
  return _keycloak;
}

function getKeycloak() {
  if (!_keycloak) {
    // eslint-disable-next-line no-console
    console.error('Keycloak has not been initialized. Please called init first.');
  }
  return _keycloak;
}

module.exports = {
  initKeycloak,
  getKeycloak,
};
Add the Middleware
require('dotenv/config')

const express = require('express')
const server = express();

...
// Use Keycloak
const keycloak = require('./keycloak-config.js').initKeycloak();
server.use(keycloak.middleware());
...
// Use Controller
const controller = require('./controller')
server.use('/', controller);

// Listen
server.listen(process.env.PORT, '192.168.1.70',
    () => console.log(`Server listening of port ${process.env.PORT}`)
)