LoRa Page: Difference between revisions
| Line 217: | Line 217: | ||
log::info!("Wi-Fi set_configuration returned {:?}", res); | log::info!("Wi-Fi set_configuration returned {:?}", res); | ||
</syntaxhighlight> | </syntaxhighlight> | ||
=Connect to the Controller== | ==Connect to the Controller== | ||
No drama doing this in no_std | No drama doing this in no_std | ||
<syntaxhighlight lang="rust"> | <syntaxhighlight lang="rust"> | ||
Revision as of 00:19, 25 August 2024
Introduction
I know nothing of LoRa but like putting boxes together and getting them to talk so lets do it.
Equipment
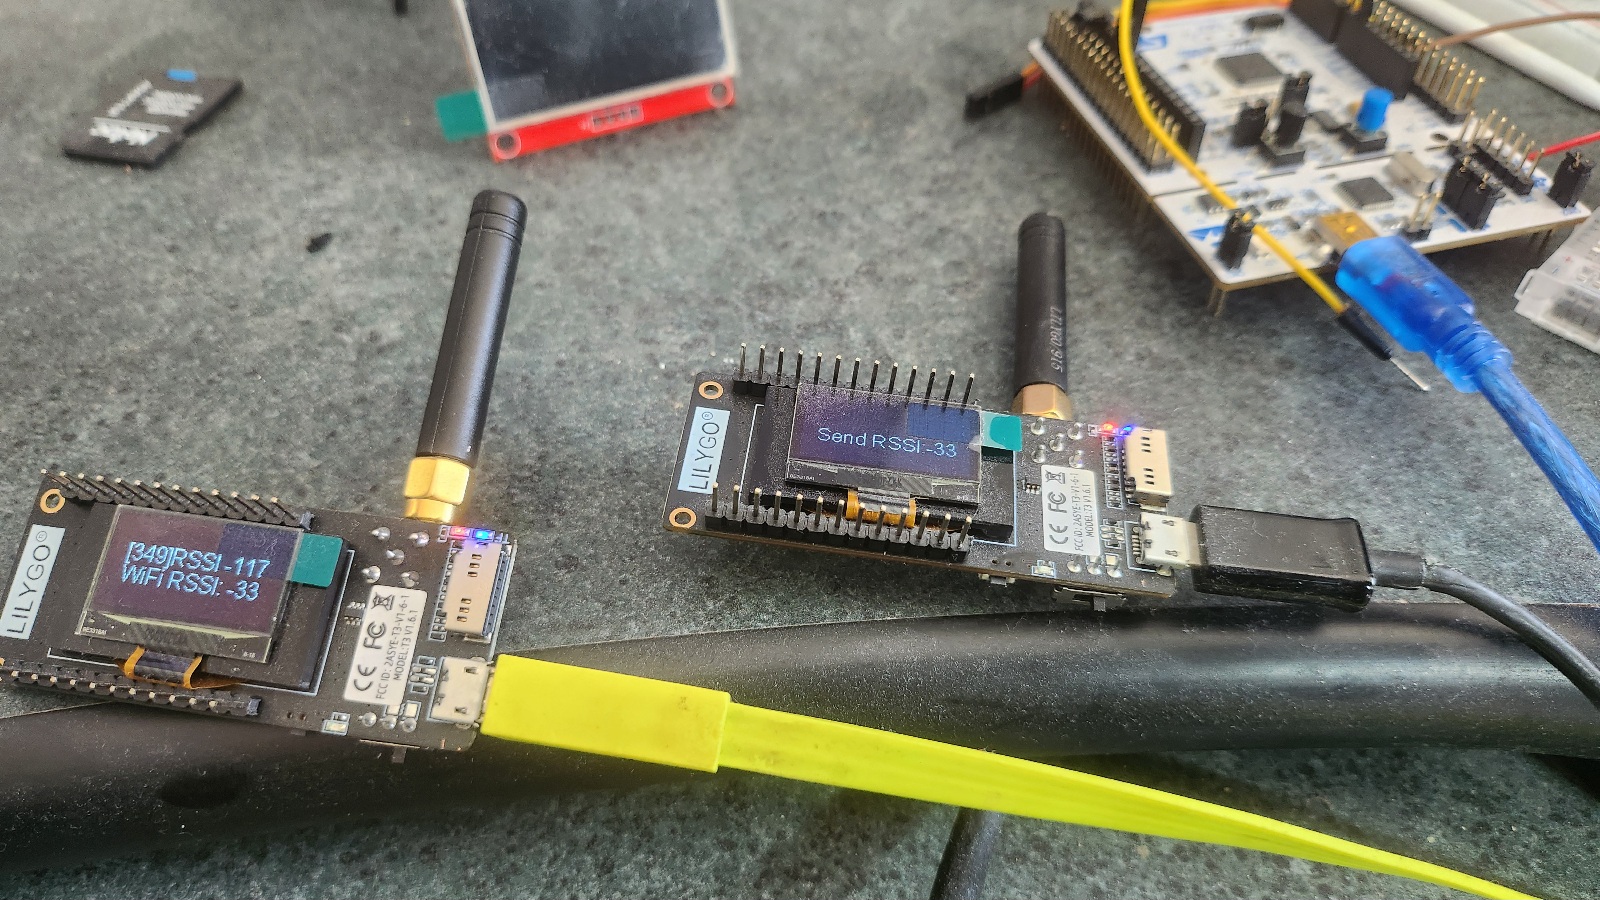
So I thought I would start with two LilyGO Model T3 v1.6.1. I think they were $30 NZD

Environment
Operating System
Been Ubuntu for a while. Mainly because it still supports team and I guess I know the most about it. So for now Ubuntu 24.04
IDE Arduino 2.3.3
Well I dislike the Arduino software with a passion. I know it is free and someone has clearly put a lot of effort into making it and a lot of people use it but it is just horrible to use in a project for me. All my problem not yours.
I did try with both the snap and the apt installs for version 1 but could not get it to work. Then second approach resulted in having to clear the /tmp directory each time I built. So went for the zip file. My preference is apt or snap as you can put the software on and take it off and (hopefully) you are back to where you started
Always a challenge run Arduino for me but the way I did it this time was download it from https://downloads.arduino.cc/arduino-ide/nightly/arduino-ide_nightly-latest_Linux_64bit.zip
I unzipped it to and set the permission. No idea it this is a good thing or bad so don't do it on something you care about
cd ~/bin
unzip arduino-ide_nightly-20240630_Linux_64bit.zip
cd ~/bin/arduino-ide_nightly-20240630_Linux_64bit
sudo chown root:root chrome-sandbox
sudo chmod 4755 chrome-sandbox
# Put this in your bash profile ~/.bashrc or run here
export PATH=~/bin/arduino-ide_nightly-20240630_Linux_64bit:$PATH
First Attempt
Well the first thing to do is to take something that works and demonstrate it works on you environment/equipment for me I started with https://github.com/Xinyuan-LilyGo/TTGO-LoRa-Series
git clone https://github.com/Xinyuan-LilyGo/TTGO-LoRa-Series
cd LoRa
arduino-ide LoRa.ino
Just adding the line
#define LORA_SENDER 1
Make the code the sender. I compiled the two versions and all worked.
Let's get Rusty
Now we need to get rust
cargo install espup
espup install
rustup toolchain list
# List should show
stable-x86_64-unknown-linux-gnu (default)
nightly-x86_64-unknown-linux-gnu
esp (override)
Now lest make a hello-world
cargo install cargo-generate
# Name the project helloworld
cd helloworld
cargo run
So it did not run. This is because we used espup install and we need to set up the environment. We do this running
. $HOME/export-esp.sh

# And again
cargo run
# could not execute process `espflash flash
Still not working. This is the nature of using this environment. I quite like the chase of it and the gaining of knowledge when the solution is explained. So next
cargo install espflash
# warning: build failed, waiting for other jobs to finish...
# error: failed to compile `espflash v3.1.1`, intermediate artifacts can be found at `/tmp/cargo-install20pGtu`.
If you review previous errors you will see
# error: failed to run custom build command for `libudev-sys v0.1.4`
# And googling gives
# https://stackoverflow.com/questions/73965977/error-failed-to-run-custom-build-command-for-libudev-sys-v0-1-4
sudo apt-get install -y  libudev-dev
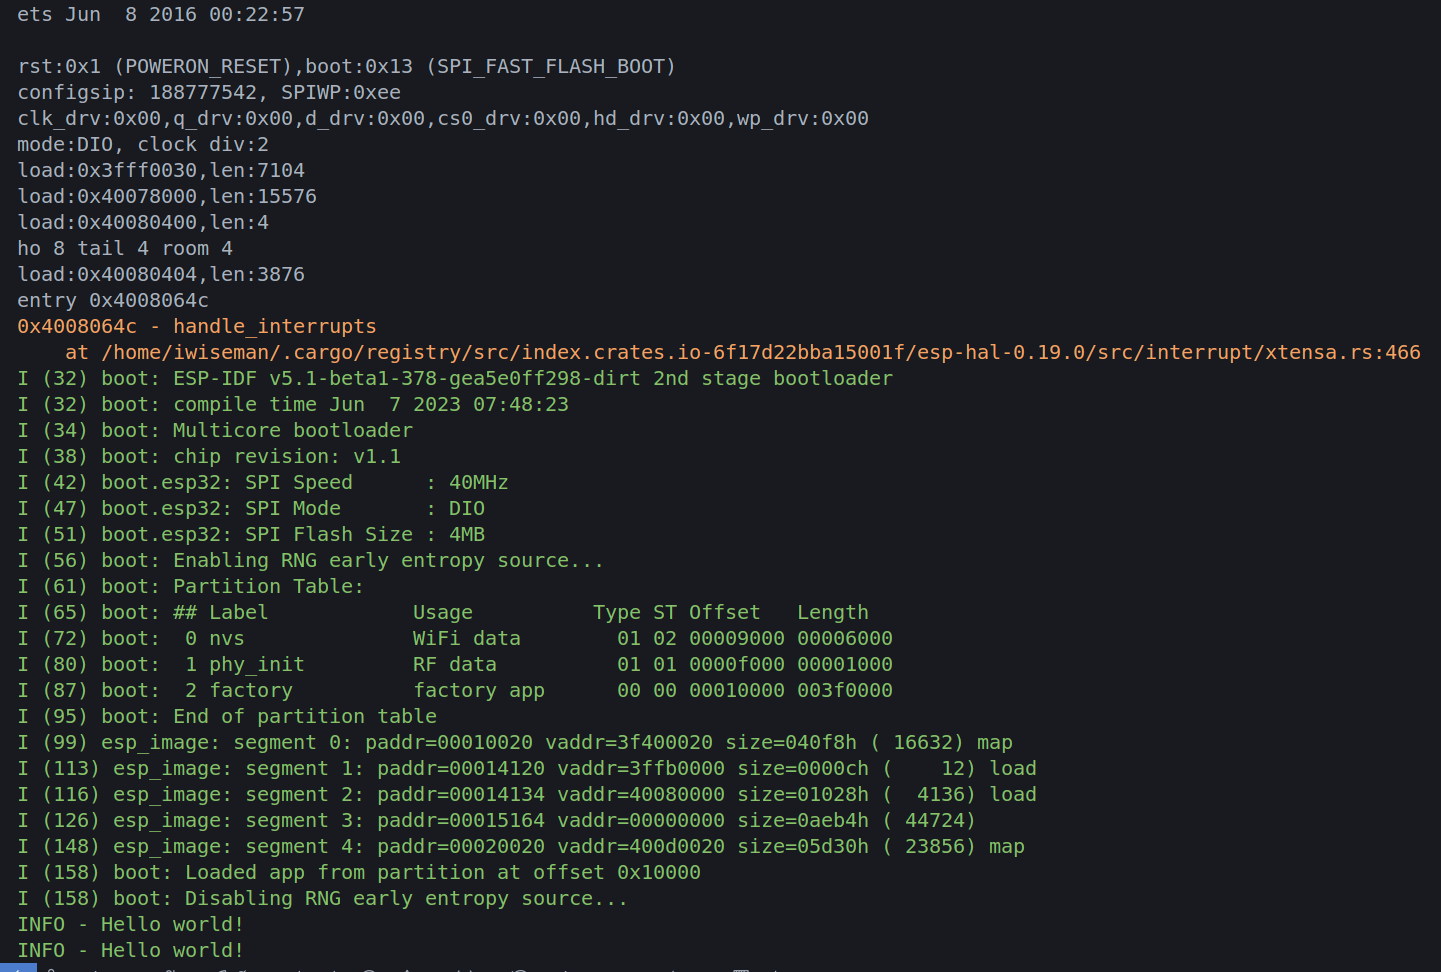
Now we have another go and finally it is flashing to the ESP32

And running the hello world example. For me getting the various elements running together gives me joy. Probably not that special for some people.

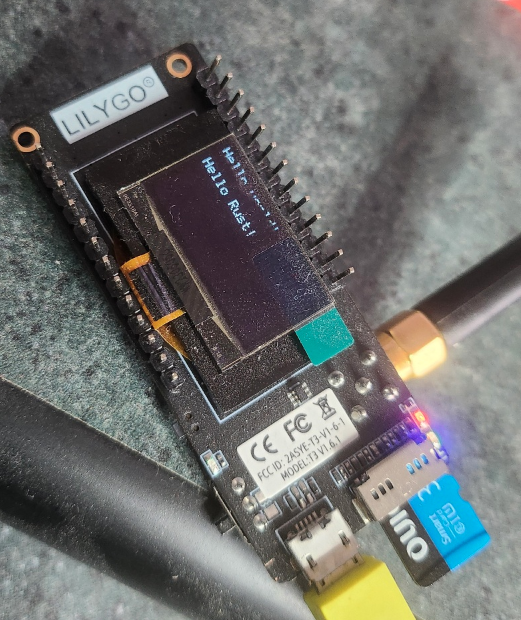
Time for some Pictures
Well we now have a the basic working. Next we need a picture. Once this is working Debugging will be quite easy or so he said
cargo add ssd1306
cargo add  embedded_graphics
I run the code again after installing anything. Paranoid or what. The samples kind of worked but here is the code which work on this specific day and hour.
fn main() -> ! {
    let peripherals = Peripherals::take();
    let system = SystemControl::new(peripherals.SYSTEM);

    let clocks = ClockControl::max(system.clock_control).freeze();
    let delay = Delay::new(&clocks);

    esp_println::logger::init_logger_from_env();

    let io = Io::new(peripherals.GPIO, peripherals.IO_MUX);

    // Create a new peripheral object with the described wiring
    // and standard I2C clock speed
    let i2c = I2C::new(
        peripherals.I2C0,
        io.pins.gpio21,
        io.pins.gpio22,
        100.kHz(),
        &clocks,
        None,
    );

    let interface = I2CDisplayInterface::new(i2c);
    let mut display = Ssd1306::new(interface, DisplaySize128x64, DisplayRotation::Rotate0)
        .into_buffered_graphics_mode();
    display.init().unwrap();

    let text_style = MonoTextStyleBuilder::new()
        .font(&FONT_6X10)
        .text_color(BinaryColor::On)
        .build();

    Text::with_baseline("Hello world!", Point::zero(), text_style, Baseline::Top)
        .draw(&mut display)
        .unwrap();

    Text::with_baseline("Hello Rust!", Point::new(0, 16), text_style, Baseline::Top)
        .draw(&mut display)
        .unwrap();

    display.flush().unwrap();
    loop {
        log::info!("Hello world!");
        delay.delay(500.millis());
    }
}
There is always a trick it seems to eat your weekend away. For this piece of code it was I needed to enable the embedded-hal-02 feature flag in the esp-hal
[dependencies]
embedded-graphics = "0.8.1"
esp-backtrace = { version = "0.13.0", features = [
    "esp32",
    "exception-handler",
    "panic-handler",
    "println",
] }
esp-hal = { version = "0.19.0", features = ["esp32", "embedded-hal-02"] }
esp-println = { version = "0.10.0", features = ["esp32", "log"] }
log = { version = "0.4.21" }
ssd1306 = "0.8.4"
Time to Get Connected
Let see if we can connect to the Wifi before we go for LoRa. This probably is more a case of understanding Rust and WiFi libraries so lets do it.
Configure Wifi Peripheral
We need to add and configure the wifi crate
esp-wifi = { version = "0.7.1", features = ["esp32", "wifi-default"] }
heapless = "0.8.0"
The biggest part of getting this to work was dealing with the timer. The Xtensa build uses a different timer, as your would expect, than RISC-V. Searching the Web, as ever solved this.
    let timer = esp_hal::timer::PeriodicTimer::new(
        esp_hal::timer::timg::TimerGroup::new(peripherals.TIMG1, &clocks, None)
            .timer0
            .into(),
    );

    let init = initialize(
        EspWifiInitFor::Wifi,
        timer,
        Rng::new(peripherals.RNG),
        peripherals.RADIO_CLK,
        &clocks,
    )
    .unwrap();

    // Configure Wifi
    let wifi = peripherals.WIFI;
    let mut socket_set_entries: [SocketStorage; 3] = Default::default();
    let (iface, device, mut controller, sockets) =
        create_network_interface(&init, wifi, WifiStaDevice, &mut socket_set_entries).unwrap();
Configure Authentication
This also was a little bit harder than expected. So set the password and not have it appear in github I used
const SSID: &str = env!("SSID");
const PASSWORD: &str = env!("PASSWORD");
And for the SSID this worked well be doing
export SSID=YourKidding
But for the password not so well because of the special characters.
export SSID=YourKidding!!!
The fix was easy, just set the values outside of VS Code. Anyway here is the code for Authentication
    // Configure Authentification Configuration
    let mut auth_method = AuthMethod::WPA2Personal;
    if PASSWORD.is_empty() {
        auth_method = AuthMethod::None;
    }

    let client_config = Configuration::Client(ClientConfiguration {
        ssid: SSID.try_into().unwrap(),
        password: PASSWORD.try_into().unwrap(),
        auth_method,
        ..Default::default()
    });

    let res = controller.set_configuration(&client_config);
    log::info!("Wi-Fi set_configuration returned {:?}", res);
Connect to the Controller
No drama doing this in no_std
    controller.start().unwrap();
    log::info!("Is wifi started: {:?}", controller.is_started());

    log::info!("Start Wifi Scan");
    let res: Result<(heapless::Vec<AccessPointInfo, 10>, usize), WifiError> = controller.scan_n();
    if let Ok((res, _count)) = res {
        for ap in res {
            log::info!("{:?}", ap);
        }
    }

    log::info!("{:?}", controller.get_capabilities());
    log::info!("Wi-Fi connect: {:?}", controller.connect());

    // Wait to get connected
    log::info!("Wait to get connected");
    loop {
        let res = controller.is_connected();
        match res {
            Ok(connected) => {
                if connected {
                    break;
                }
            }
            Err(err) => {
                log::info!("{:?}", err);
                loop {}
            }
        }
    }
    log::info!("{:?}", controller.is_connected());
Get an IP address
Again no issue with this part
    // Wait for getting an ip address
    let wifi_stack = WifiStack::new(iface, device, sockets, current_millis);
    log::info!("Wait to get an ip address");
    loop {
        wifi_stack.work();

        if wifi_stack.is_iface_up() {
            log::info!("got ip {:?}", wifi_stack.get_ip_info());
            break;
        }
    }
