Unity
Introduction
Mouse Manager
Demonstrated who to do a mouse manager which determines what the cursor should look like when interaction with an object occurs. To do this they
- Create game object called Mouse Manager
- Set up a script which exposes 5 different Texture2d textures extending monobehaviour
- Implement update which is fired for each frame
- Import assets for cursors, set the texture type to cursor
- Attach Script to Mouse Manager object
- Drag drop assets to Mouse Manager slots from script
- Make an new layer and name it clickable
- Go to mouse manager and say clickable is possible on clickable layer
Movement
This was quite complex (maybe first time around)
- Import the NavMeshComponents
- Add NavMesh Surface empty game object
- Set the agent type on NavMesh Surface Object
- Pressing bake shows what cannot move
- We need to exclude the player from this
- To exclude the player we need to
- On the mesh exclude the player layer
- On the Player object assign the player layer to the player object
- Next create a player controller class in a script which has an agent and within start() we get this agent with GetComponent<NavMeshAgent>()
- Back in the mouseManager script create a delegate for EventVector3 OnClickEnvironment
- In the clickable if statement call the function assigned to the delegate from the GUI
if(input.GetMouseButtonDown(0)) {
   OnClickEnvironment.Invoke
}
- The assign the NavMeshAgent destination to the OnClickEnvironment
Player Interactions
We can capture and change the destination on collision
// Can store the data with a collision
// Assign the new co-ordinates
Transform doorway = hit.collider.gameObject.transform
OnClickEnvironment.Invoke(doorway.position)
NPC Patrol
Basically wrote a script to move to the two waypoints (a reference point used for navigation purposes by in-game characters)
- Create an NPC new game object
- Create the waypoints (new gameobject) under the NPC
- Create a script
- Assign the waypoints to the script
public class NPCController : MonoBehaviour
{
    public float patrolTime = 10f;
    public float aggroRange = 10f;
    public Transform[] waypoints;

    private int index;
    private float speed, agentSpeed;
    private Transform player;

    //private Animator anim;
    private NavMeshAgent agent;

    private void Awake()
    {
        //anim = GetComponent<Animator>();
        agent = GetComponent<NavMeshAgent>();
        if (agent != null) { agentSpeed = agent.speed; }
        player = GameObject.FindGameObjectWithTag("Player").transform;
        index = Random.Range(0, waypoints.Length);

        InvokeRepeating("Tick", 0, 0.5f);

        if(waypoints.Length > 0)
        {
            InvokeRepeating("Patrol", 0, patrolTime);
        }
    }

    void Patrol()
    {
        index = index == waypoints.Length - 1 ? 0 : index + 1;
    }

    void Tick()
    {
        agent.destination = waypoints[index].position;
        agent.speed = agentSpeed / 2;

        if(player != null && Vector3.Distance(transform.position, player.position) < aggroRange)
        {
            agent.destination = player.position;
            agent.speed = agentSpeed;
        }
    }
}
Level Design
Using Probuilder
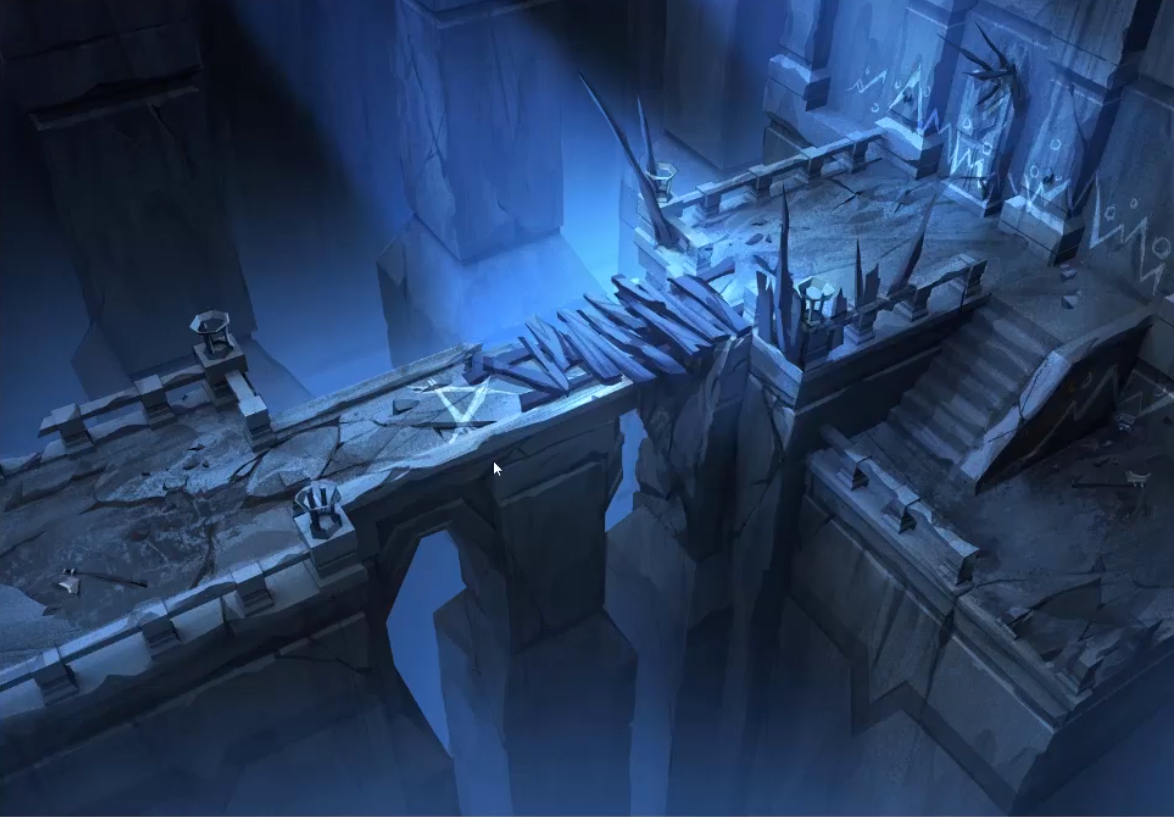
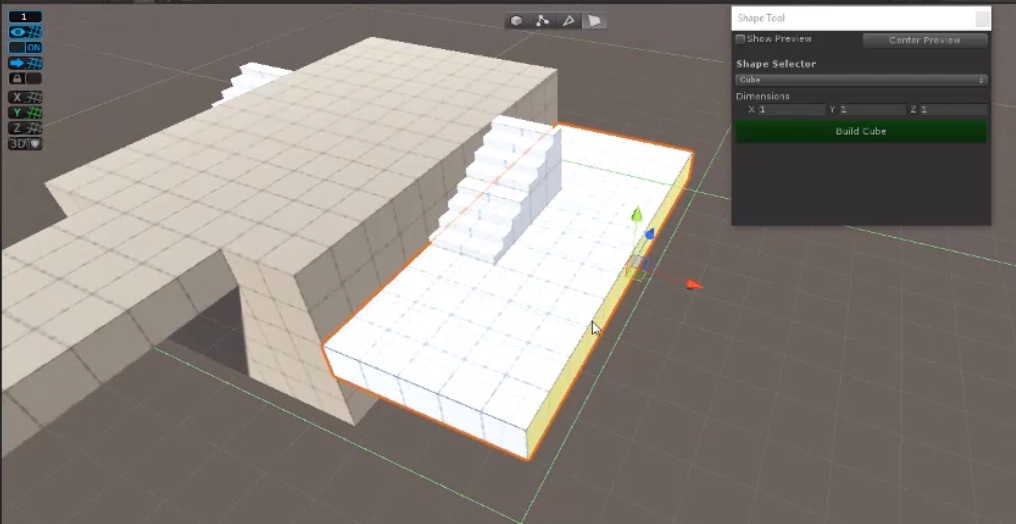
With probuilder we need to import the tools probuilder and progrids. From there we are able to create a scene which represents the artwork.

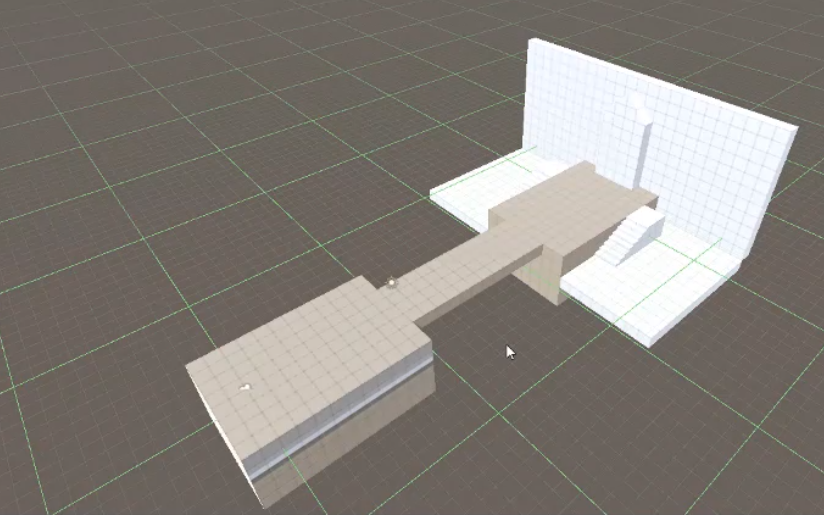
And use the probuilder tool to build a similar look.

