Wasm rust
Introduction
Getting started was not easy. This was more due to the npm half of the deal.
create-wasm-app
There is something called create-wasm-app which creates a template for rust. When I used it I could not get it to work. To fix this I had to first install the app locally and the create a package.json with a dependency
# Install
npm install -g create-wasm-app
# List where it is
npm list -g
// Mine was  /home/iwiseman/.nvm/versions/node/v22.8.0/lib
Now make the package.json
{
  "dependencies": {
    "create-wasm-app": "/home/iwiseman/.nvm/versions/node/v22.8.0/lib/node_modules/create-wasm-app"
  }
}
Now create the app
npm init wasm-app www
Next we try and run the code with
npm run start
And we get the following error
 Googling as we do we find we can add a flag to Nodejs to use legacy ssl
...
  "scripts": {
    "build": "webpack --config webpack.config.js",
    "start": "NODE_OPTIONS=--openssl-legacy-provider webpack-dev-server"
  },
...
Now we go http://localhost:8081/
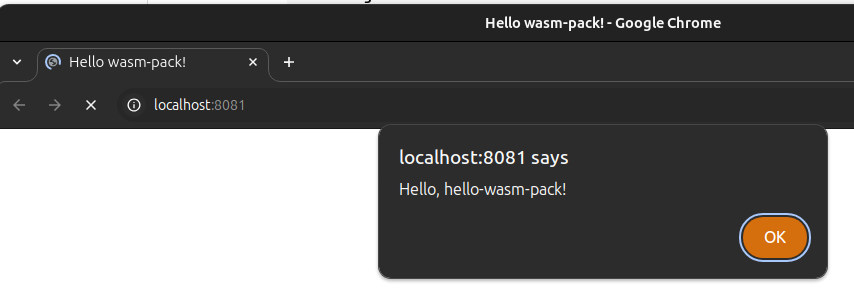
Clearly anything around ssl and legacy are perhaps not a way forward so I updated packages to latest
  "devDependencies": {
    "hello-wasm-pack": "^0.1.0",
    "webpack": "^5.95.0",
    "webpack-cli": "^5.1.4",
    "webpack-dev-server": "^5.1.0",
    "copy-webpack-plugin": "^12.0.2"
  }
This updates from webpack 4 to 5 and breaks the plugin. First off the CopyWebpackPlugin format has changed from
  plugins: [
    new CopyWebpackPlugin(['index.html'])
  ],
To
  plugins: [
    new CopyWebpackPlugin({
      patterns: ["index.html"],
    }),
  ],
Now we have fixed that, lets hit that start button. And the result is
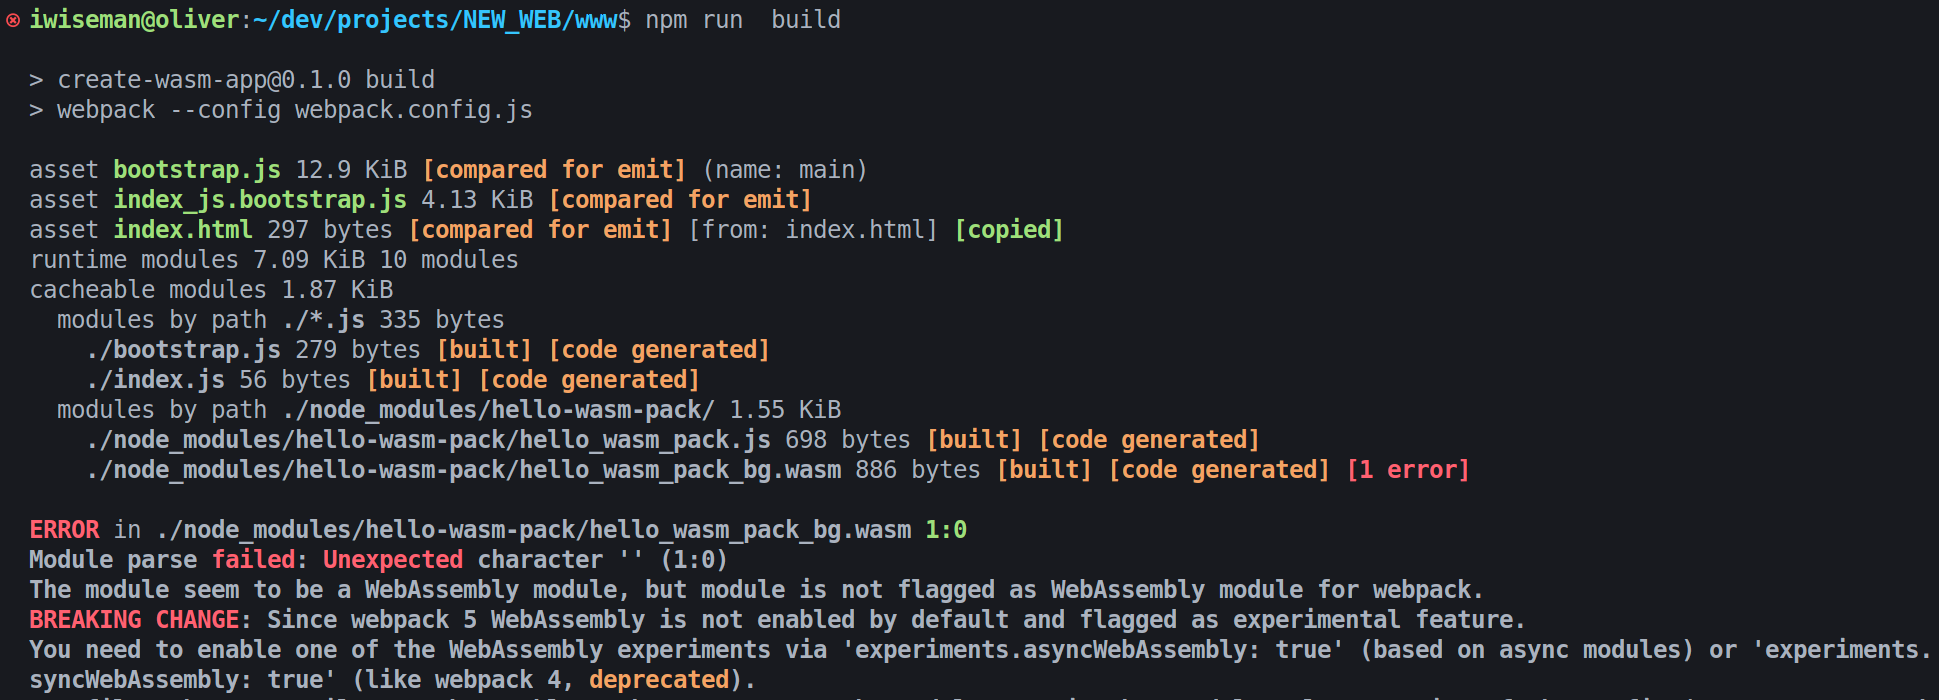 Well this was easy to fix. You google The module seem to be a WebAssembly module and hey presto the answer is found. I struggle to read documents as a general rule but looking at the error webpack produced in the image, it is pretty clear already what to do. I wonder if my frustration with reading has closed my mind to reading. And there is not point in having a mind if you don't change it. On with the answer in webpack.config.js.
...
module.exports = {
  experiments: {
    asyncWebAssembly: true,
  },
...
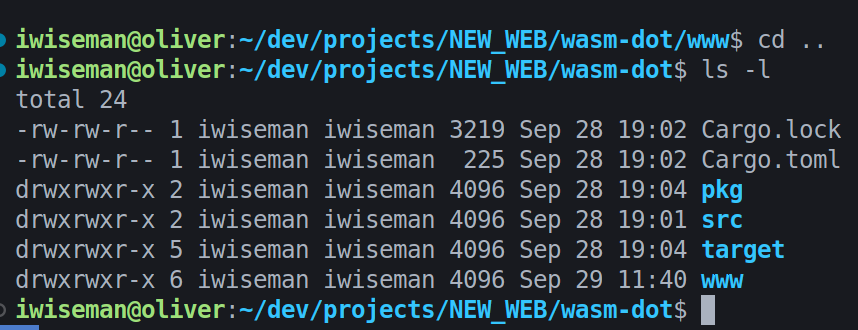
And here is the file structure I used in this case where www is the node project and pkg contains the rust assembly
Running Going Forward
All that out of the way the next thing is to look at messing with the dom. Don't forget to get changes to your rust you need to run webpack. So in the web app you need to do
wasm-pack build
npm run start
An example
This is taken from Ben Lovy on dev.io and demonstrates enough to get started. First we need to add the dependency on web-sys to the toml.
[dependencies]
wasm-bindgen = "0.2"
[dependencies.web-sys]
version = "0.3"
features = [
    "Attr",
    "CanvasRenderingContext2d",
    "Document",
    "Element",
    "Event",
    "EventTarget",
    "HtmlCanvasElement",
    "HtmlElement",
    "HtmlInputElement",
    "Node",
    "Text",
    "Window",
]
And now the code
use wasm_bindgen::prelude::*;
use web_sys::{Document, HtmlElement};

#[wasm_bindgen]
pub fn run() {
    // get window/document/body
    let window = web_sys::window().expect("Could not get window");
    let document = window.document().expect("Could not get document");
    let body = document.body().expect("Could not get body");

    mount_app(&document, &body);
}

fn mount_app(document: &Document, body: &HtmlElement) {
    mount_title(&document, &body);
}

// Create a title
fn mount_title(document: &Document, body: &HtmlElement) {
    // create title element
    let title = document
        .create_element("h1")
        .expect("Could not create element");
    let title_text = document.create_text_node("DOT"); // always succeeds
    title
        .append_child(&title_text)
        .expect("Could not append child to title");

    // append to body
    body.append_child(&title)
        .expect("Could not append title to body");
}
We just need to change the web apps index.js to use our stuff.
import * as wasm from "wasm-dot";

wasm.run();
Pretty easy to get going I think
Going Back to Rust
Using Macros
Building a DOM is a bit repetitive and it would be better to write some macros to do this for us. I always long breaks between some of the languages and although recruiters suggest on the last 2 years are the only relevant ones, I disagree because it is like riding a bicycle. But here is a refresher. Here is how it is written
macro_rules! my_macro {
    () => {
        { // Do Stuff }
    };
}
And a working example
macro_rules! my_macro {
    ($var:literal) => {{
        concat!("# ", $var)
    }};
}

fn main() {
  let a = my_macro!("Hello, world!");
  println!("{}", a);
}

/*

 Outputs
 # Hello, world!

*/
We can make it variadic by doing the following
macro_rules! my_macro {
    ($($var:literal),*) => {
       { concat!( $("# ", $var, "\n",)+ ) }
    };
 }

fn main() {
    let a = my_macro!("Hello, world! 1", "Hello, world! 2");
    println!("{}", a);
}

 /*

  Now outputs
  # Hello, world! 1
  # Hello, world! 2

 */
Back to the Code
Here are the help macros from Ben Lovy
macro_rules! append_attrs {
    ($document:ident, $el:ident, $( $attr:expr ),* ) => {
        $(
            let attr = $document.create_attribute($attr.0)?;
            attr.set_value($attr.1);
            $el.set_attribute_node(&attr)?;
        )*
    }
}
We can may some support macros to help too. I really like the approach Ben takes when explaining
macro_rules! append_text_child {
    ($document:ident, $el:ident, $text:expr ) => {
        let text = $document.create_text_node($text);
        $el.append_child(&text)?;
    };
}

macro_rules! create_element_attrs {
    ($document:ident, $type:expr, $( $attr:expr ),* ) => {{
        let el = $document.create_element($type)?;
        append_attrs!($document, el, $( $attr ),*);
        el}
    }
}

macro_rules! append_element_attrs {
    ($document:ident, $parent:ident, $type:expr, $( $attr:expr ),* ) => {
        let el = create_element_attrs!($document, $type, $( $attr ),* );
        $parent.append_child(&el)?;
    }
}

macro_rules! append_text_element_attrs {
    ($document:ident, $parent:ident, $type:expr, $text:expr, $( $attr:expr ),*) => {
        let el = create_element_attrs!($document, $type, $( $attr ),* );
        append_text_child!($document, el, $text);
        $parent.append_child(&el)?;
    }
}
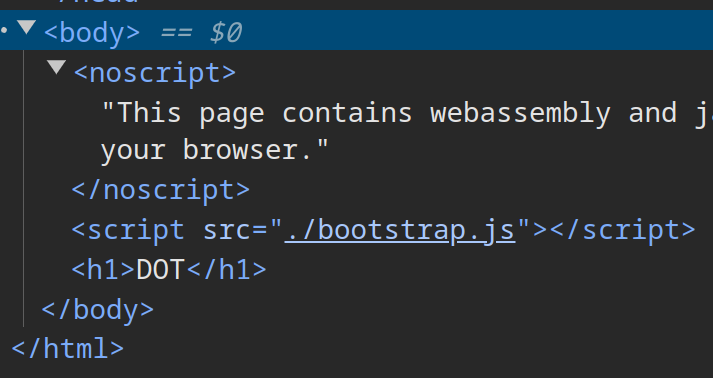
So here is the html we originally had
And here is the new code using our new macros
type Result<T> = std::result::Result<T, JsValue>;

fn get_document() -> Result<Document> {
    let window = web_sys::window().unwrap();
    Ok(window.document().unwrap())
}

fn mount_app(document: &Document, body: &HtmlElement) -> Result<()> {
    append_text_element_attrs!(document, body, "h1", "DOT",);
    Ok(())
}

#[wasm_bindgen]
pub fn run() -> Result<()> {
    let document = get_document()?;
    let body = document.body().unwrap();

    mount_app(&document, &body)?;
    Ok(())
}
This is the html we are looking to build form dev.io
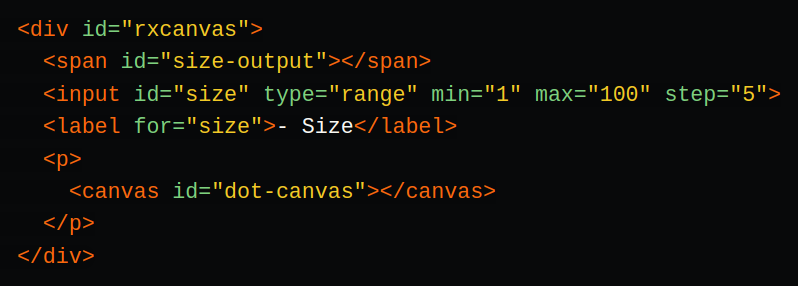
And we can do this now easily with the following
const STARTING_SIZE: u32 = 5;

fn mount_controls(document: &Document, parent: &HtmlElement) -> Result<()> {
    // containing div
    let div = create_element_attrs!(document, "div", ("id", "rxcanvas"));
    // span
    append_text_element_attrs!(
        document,
        div,
        "span",
        &format!("{}", STARTING_SIZE),
        ("id", "size-output")
    );
    // input
    append_element_attrs!(
        document,
        div,
        "input",
        ("id", "size"),
        ("type", "range"),
        ("min", "5"),
        ("max", "100"),
        ("step", "5")
    );
    // label
    append_text_element_attrs!(document, div, "label", "- Size", ("for", "size"));
    // canvas
    mount_canvas(&document, &div)?;
    parent.append_child(&div)?;
    Ok(())
}